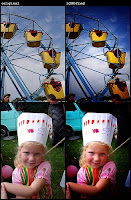
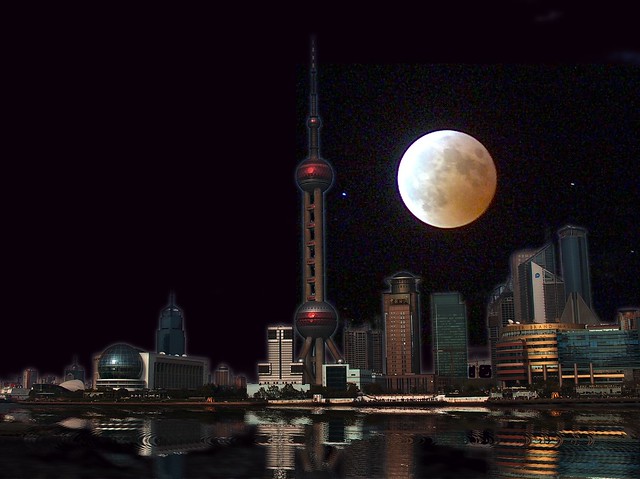
 Lomo-Gimp is a Photoshop quality script that tries to give your digital pictures the warmth of those taken by an old rangefinder analog camera. Think of it as a Kodak Instamatic or a Lomo Holga faking effect. It enhances contrast and saturation, and applies a light and a dark overlay, trying to emulate incorrectness in exposition. Please note this does nothing —still it does!— to emulate the chromatic aberration peculiar in pictures taken using a real Lomo.
Lomo-Gimp is distributed under a HESSLA license. Copy it, modify it, pass it to others as if it was GPL in most cases. Simply don't use it to do anything against fundamental Human Rights or the license will be revoked.
How to install Lomo-Gimp
Download the latest version at BerliOS. If having problems downloading from BerliOS using Firefox 3, read here. Or use this alternate download location which might not be the latest version. Unzip it to a temporal directory of your choice.
If running Linux, use the gimptool command:
$ gimptool --install-script lomo-gimp.scm
Or look under the ~/.gimp/scripts folder. If running Windows, look under %HOME%\.gimp\scripts, or under %USERPROFILE%\.gimp\scripts if %HOME% is not defined. Put the lomo-gimp.scm file there. Then restart the GIMP or do a refresh by using Xtns, Script-Fu, Refresh Scripts from the toolbox. The script will now appear in the Script-Fu, Alchemy menu. On recent GIMP versions, look under Filters, Artistic.Find more scripts at the GIMP Plugin Registry.
How to use Lomo-Gimp
Launch the script. Select the desired enhancement level for contrast and saturation. The default 20 is nice in most cases but feel free to select a higher or lower value. Select also the opacity of the bright and shadow layer. The higher the opacity, the more present the effect of incorrectness in exposition. If result image is too dark, unselect duplication of the shadow layer. Flattening image after processing and working on copy is the default and works in most cases. Please note:
- If levels have already been tweaked so as to expand colors, lower values of enhancement in saturation and contrast will be needed. If these values are too large, the result will be a nasty pixelation effect. This can be nice if used as a special effect, but don't count on anybody thinking of it as the real thing!
- Make several attempts with different parameters and choose the most interesting result. Can't be guessed in advance which one it will be!
Please tell the author if you find the script useful, if you find the effect convincing enough, or how to improve it!
A bit of before/after
http://www.flickr.com/photos/28653536@N07/2879107018/
http://www.flickr.com/photos/28653536@N07/2891297169/
http://www.flickr.com/photos/28653536@N07/3789720321/


0 comments:
Post a Comment