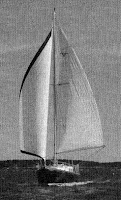
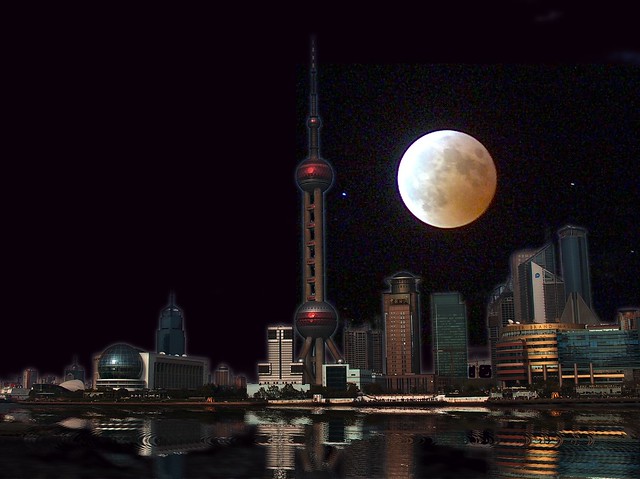
 Real-world images have lots of noise: film grain, scanner lines, CCD noise, paper texture, and just about anything else you can imagine. Computer-generated images, on the other hand, tend to be too real. If you need to make computer-generated images look like real-world ones, then this tutorial is for you.
Why Would Anyone Want to Ruin Perfectly Good Images?
Perhaps you've rendered a gorgeous 3D scene, but want to make it look more like a photograph. Perhaps you're compositing two different photos, and need make the grain match. Or maybe you're just perverse.
Extracting the Film Grain
This is a subject for another, longer tutorial. But here are the basic steps:
- Take a noisy image.
- Duplicate it into a new layer.
- Blur it to remove the noise.
- Set the blurred layer to Grain Extract mode to extract the noise.
- Flatten the image.
- Choose an interesting area of the noise, and make it into a tileable pattern.
Some good ways of making tileable patterns include Make Seamless, the Resynthesizer and Homogenizer, mirroring, and hand-editing. You'll have to experiment a bit. In the following example, we'll use a weird, vertically-striped noise pattern. It looks like some kind of scanner noise, or perhaps an artifact of old newsprint.
Ruining a Perfectly Good Image
First, desaturate the image. You can do this using <Image> Image -> Colors -> Desaturate or the Desaturate filter provided with the MathMap plugin.(The latter actually returns the luminosity of an image, not a desaturated version. Technically, it's better, but it's unnecessary for most images.)
Step 2
Next add a new layer to the image, and use the bucket to fill it with your tileable noise.
Step 3
Position the noise layer above the image layer, and set the mode to Grain Merge.
Step 4
So far, so good. But the noise is too strong in the shadows and highlights of the image. To demphasize it, we can use a layer mask.
First, add a layer mask to the noise layer. Then, make a copy of the image, gaussian blur it with a radius of 15 pixels, and paste the blurred image into the layer mask. Use <Image> Image -> Colors -> Invert to swap bright for dark. This will cause the grain to show through strongly in the shadows and midtones, but not in the highlights.
Step 5
Next, use <Image> Image -> Colors -> Curves to adjust the value of the layer mask. We want to make the midtones bright, and the shadows and hightlights dark. You can adjust the curves to taste. Curves Dialog This increases the grain in the midtones, and reduces it elsewhere.
Here's the Layers, Channels & Paths dialog for the finished image.
Related Techniques
You can use various brushes in the mask layer to selectively edit the grain. You can also use the bucket tool in Pattern Fill, Grain Merge mode to fill a selection with grain directly.
Many kinds of noise can be created using <Image> Filters -> Noise -> Scatter HSV. You can apply this directly to an image, or to a film grain pattern.
To denoise an image, try <Image> Filters -> Blur -> Selective Guassian Blur. It's slow, but very nifty.
source: Gimp
If you liked this article, subscribe to the feed by clicking the image below to keep informed about new contents of the blog:


0 comments:
Post a Comment