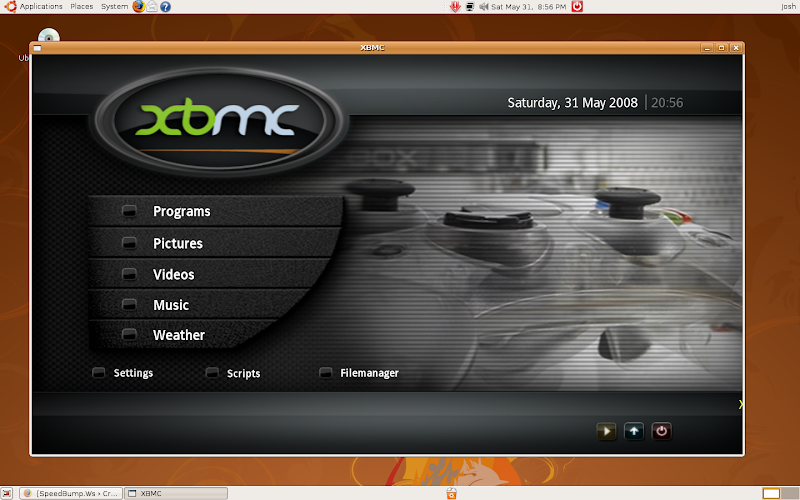
 The following is the recommended way of installing XBMC as a standalone app for Ubuntu. This is not the most stripped down approach but it is the safest and most simplistic. Please also consider XBMC Live as an easy way to try XBMC without changing your system. For a more stripped down approach, consider the more advanced guide XBMCbuntu which starts with a minimal server install.
This guide assumes that desktop based Ubuntu (Gnome, KDE, XFCE) is installed and working and that your system meets the minimum requirements for XBMC. If you're having trouble getting to this point please visit Ubuntu Forums for help
Installing XBMC Ubuntu 9.10 Karmic or higher.For NVidia hardware acceleration (VDPAU) in Ubuntu 10.04 install the following packages:
Adding the XBMC Repo tells your system where to look for xbmc for installation and future updates
- From the Desktop, click System -> Administration -> Software Sources.
- Click the "Third Party Sofware" tab.
- Click "Add" for each of the following. For the Apt line type the following, substituting "jaunty" for your version:
deb http://ppa.launchpad.net/team-xbmc/ppa/ubuntu jaunty main<br />deb-src http://ppa.launchpad.net/team-xbmc/ppa/ubuntu jaunty mainAdding PPA Keys.
- Click here to view the PGP key
- Select the text from the beginning of the keyblock to the end (including those lines)
- Copy that text to the clipboard (Edit -> Copy)
- Open your text editor from Applications -> Text Editor.
- Paste the key contents (Edit -> Paste)
- Save the document in your home folder as xbmc-ppa.key
- Reopen Software Sources, this time choosing the "Authentication" tab.
- Click "Import Key File" and choose the newly created xbmc-ppa.key and press OK.
You can also combine all these steps into a single command-line command:
<span class="kw2">sudo</span> <span class="kw2">apt-key</span> adv <span class="re5">--recv-keys</span> <span class="re5">--keyserver</span> keyserver.ubuntu.com 0x6d975c4791e7ee5e
Now that the repo and key have been added, install XBMC like any other program.
- Click System -> Administration -> Synaptic Package Manager
- Click "Reload"
- Search for "xbmc"
- Mark xbmc and xbmc-standalone for installation and mark additional changes when prompted.
- Click "Apply" and agree to the changes after reading them.
XBMC is now installed and ready for use.
Adding the XBMC SVN Repo Installer.In Ubuntu the SVN Repositories are not automatically added. You must add them manually.
- First, download the SVN Repo Installer from:
- http://xbmc-addons.googlecode.com/svn/packages/plugins/programs/SVN_Repo_Installer.zip
- Extract it to the ~/.xbmc/plugins/programs directory. If this directory does not exist, run XBMC one time and then exit back to Ubuntu. The directory should now exist.
- Select XBMC Media Center: Applications -> Sound & Video -> XBMC Media Center
- Scroll down to Programs.
- Select program plugins.
- Select SVN Repo Installer
- Select xbmc-addons
- Select plugins
- Choose the plugins that you want to add (i.e., videos)
- From the desktop click System -> Administration -> Login Screen
- From the "Security" tab choose "Enable Automatic Login" and select your username.
- Click "OK" to exit.
- Logout of your system.
- From the Login screen choose "Select Session"
- Choose "XBMC" and click "Change Session"
You're finished. Next time you login you should be greeted with XBMC.
If you liked this article, subscribe to the feed by clicking the image below to keep informed about new contents of the blog:


 <br />


0 comments:
Post a Comment